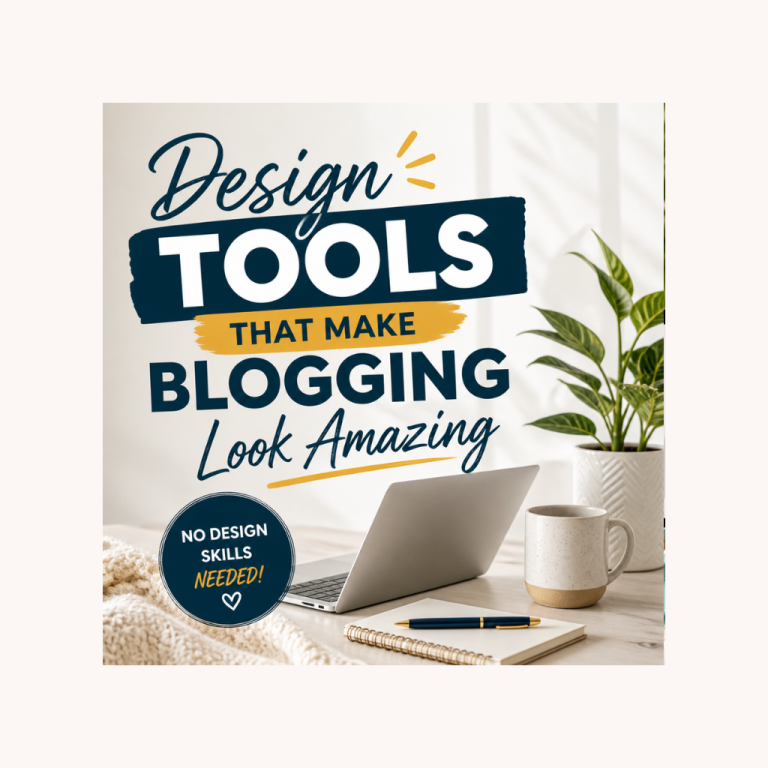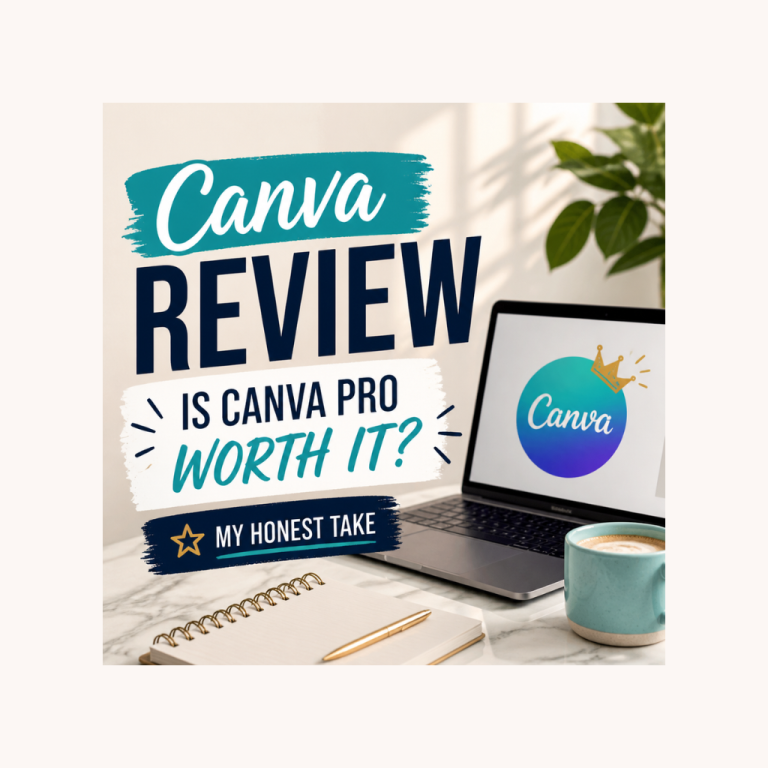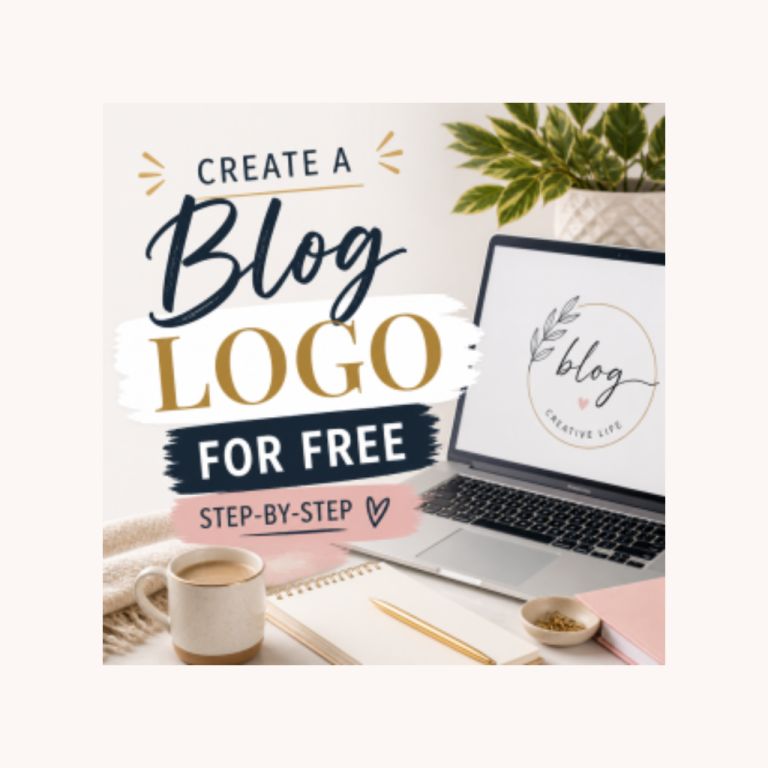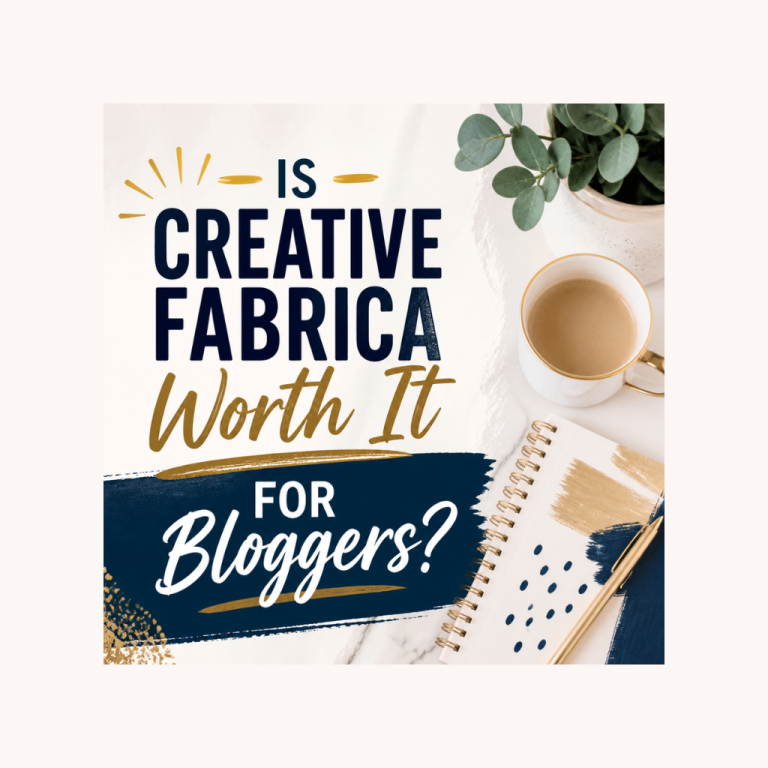

How to create Pinterest pins for your blog (free and paid tools)
Pinterest works differently from every other social platform a blogger uses, and the design approach for Pinterest pins reflects that difference. A pin isn’t a passing social post – it’s a permanent, searchable piece of visual content that can drive traffic to your blog for years after you create it.
That’s also why getting pin design right matters more than it might seem. A well-designed pin that matches what works on Pinterest’s specific format can outperform a poorly designed one by a wide margin, regardless of how good the content behind it is.
This guide covers exactly how to create Pinterest pins for your blog that work – the dimensions, the design principles, the tools to use, and a repeatable process you can apply to every new blog post.

Why Pinterest pin design is different from other social graphics
Before the how-to, it’s worth understanding what makes Pinterest specifically different, because it changes how you should approach design.
Pinterest is a search engine, not a social feed. People search Pinterest the way they search Google – looking for specific information, ideas, or inspiration. This means your pin needs to clearly communicate what it offers at a glance, often more like a magazine cover than a typical social media post.
Pins have a long shelf life. A pin published today can still be driving traffic in two years. This is fundamentally different from Instagram or Twitter/X, where content has a lifespan measured in hours or days. Design decisions on Pinterest compound over time in a way other platforms don’t reward.
The format is vertical and specific. Pinterest strongly favours a particular aspect ratio, and pins that don’t match it perform noticeably worse. Getting the dimensions right isn’t a minor detail – it directly affects how much of your pin Pinterest’s algorithm shows and how it displays in search results and feeds.
Text on the pin matters enormously. Unlike Instagram, where text-heavy images are sometimes discouraged, Pinterest pins with clear, readable text describing the content consistently outperform image-only pins, particularly for blog content (recipes, tutorials, guides) where the text helps someone understand exactly what they’ll get by clicking through.

The correct Pinterest pin dimensions
Getting the size right is the foundation everything else builds on.
The recommended aspect ratio is 2:3, which translates to 1000 x 1500 pixels as the standard size Pinterest recommends for optimal display.
Pinterest will accept other vertical ratios, but pins outside the 2:3 to 1:2.1 range get cropped in feeds, which can cut off important text or visual elements. Sticking to 1000 x 1500 pixels (or other ratios within that 2:3 range, such as 1000 x 1800) is the safest choice.
Avoid these common dimension mistakes:
Square pins (1:1, like a standard Instagram post) take up significantly less visual space in Pinterest’s feed and consistently underperform vertical pins.
Horizontal pins are even less effective – Pinterest’s mobile-first, scroll-based interface strongly favours vertical content that takes up more screen space as someone scrolls.
Extremely tall pins (beyond the 1:2.1 ratio) get cropped, often cutting off your call-to-action text or branding at the bottom.

The anatomy of a high-performing pin
Most pins that perform well share a similar structure, even across very different niches and design styles.
A clear, benefit-driven headline
The text on your pin should communicate the value of clicking through, not just describe the topic. “10 Ways to Save Money on Groceries” outperforms “Grocery Shopping Tips” because it’s specific and promises a clear outcome.
Keep your headline large enough to read easily even at small thumbnail sizes – Pinterest displays pins quite small in feed views, and text that’s readable in your design software can become illegible once shrunk down. As a general guide, your main headline text should be large enough to read clearly even on a small phone screen, which usually means significantly larger font sizes than feel necessary when designing at full size.
A relevant, high-quality image
The background image should clearly relate to your content and ideally show the actual result or process someone will get from clicking through – a finished recipe rather than a stock photo of a kitchen, a screenshot of the actual tool you’re reviewing rather than a generic tech graphic.
Strong colour contrast
Text needs to stand out clearly against the background image. This usually means either using a solid colour block behind your text, applying a semi-transparent overlay over the photo, or choosing image areas with enough natural contrast (a dark area of a photo for white text, for example).
Your branding
A small logo or website name, usually placed at the top or bottom of the pin, helps build brand recognition over time as the same pins circulate and get repinned across Pinterest.
A secondary text element (optional but effective)
Many high-performing pins include a smaller secondary line of text – a subtitle, a key detail, or a call to action like “Free printable included” or “Step-by-step guide” – that adds context without competing with the main headline for attention.

How to design Pinterest pins in Canva (free)
Canva is the tool most bloggers use for Pinterest pin design, and for good reason – it has dedicated Pinterest pin templates already correctly sized, and the workflow is straightforward even on the free plan.
Step 1 – Start with a Pinterest pin template
In Canva, search “Pinterest pin” in the template search. This filters to templates already set at the correct 1000 x 1500 pixel dimensions, removing any risk of getting the sizing wrong.
Step 2 – Choose a template that matches your brand style, not just your niche
Don’t just pick the first template that looks nice – look for one whose layout structure (where the text sits, how much space the image takes up) matches what you can realistically replicate consistently across every future pin. Consistency across your pins builds brand recognition over time.
Step 3 – Replace the image
Swap the template’s placeholder image for your own photo – either an original image from your blog post or a relevant stock photo if your content doesn’t have its own imagery. Drag your chosen image directly onto the template; Canva automatically fits it into the existing frame.
Step 4 – Edit the headline text
Replace the placeholder text with your specific, benefit-driven headline. Adjust the font if needed – if you’ve set up a Brand Kit (available on Canva Pro), your brand fonts will be available with one click.
Step 5 – Add your branding
Add your logo or website name in a consistent position – most bloggers use the top or bottom of the pin. Keep it small enough that it doesn’t compete with the headline for attention.
Step 6 – Use Magic Resize for variations (Canva Pro)
If you want to create a few visual variations of the same pin to test which performs better, or to create matching pins for a multi-pin post, Canva Pro’s Magic Resize and duplicate features make creating variations significantly faster than rebuilding each one manually.
Step 7 – Download for Pinterest
Download as a PNG or JPG at the highest quality setting. Avoid PDF format, which Pinterest doesn’t display correctly.
Creating multiple pins per blog post
A single blog post can support several different pins, each testing a different headline, image, or design approach. This is one of the most effective tactics for finding what resonates with your specific audience and significantly extends your reach from a single piece of content.
A practical approach:
Create 3 to 5 pin variations per significant blog post, each with:
- A different headline angle (a question vs a statement vs a number-led headline)
- A different primary image, if you have multiple relevant photos
- A different colour scheme or layout, while keeping your overall branding consistent
Pin these at different times rather than all at once – spreading them out over days or weeks gives Pinterest’s algorithm multiple opportunities to test which version resonates, and avoids your account appearing to spam the same content repeatedly.

Using Blog2Pin or similar pin design and scheduling tools
For bloggers creating pins regularly across multiple posts, dedicated Pinterest-focused tools can streamline the design and scheduling process beyond what general design tools like Canva offer alone.
Tools like Blog2Pin combine pin design templates specifically optimised for Pinterest with scheduling functionality, letting you batch-create and schedule pins for multiple blog posts in one workflow rather than designing in Canva and then separately scheduling through Pinterest’s own interface or a general social media scheduler.
Why a dedicated Pinterest tool can be worth it:
If Pinterest is a significant traffic source for your site – which for many lifestyle, food, craft, and how-to blogs it genuinely is – the time saved by having design and scheduling combined in one Pinterest-specific workflow adds up considerably over dozens or hundreds of pins per month.
For bloggers where Pinterest is one channel among several rather than a primary traffic driver, designing in Canva and scheduling through Pinterest’s native scheduler (which is free and built into Pinterest’s business account features) is often sufficient without needing a specialised additional tool.
Common Pinterest pin design mistakes
Using square or horizontal images. Covered above, but worth repeating – this is the single most common and most damaging mistake new Pinterest users make.
Text too small to read at thumbnail size. Always preview your pin at a small size before publishing – what looks readable at full design size can become illegible once Pinterest displays it in a feed.
Inconsistent branding across pins. If every pin looks completely different, you’re not building brand recognition. Establish a consistent template structure (even if you vary colours or images) so repeat viewers start to recognise your content.
Vague or generic headlines. “Blog Post Title” style headlines that simply restate your post title without adding a benefit or hook underperform pins with specific, compelling text.
Ignoring Pinterest SEO. Pin design matters, but so does the pin description, title, and the keywords you use when uploading. A beautifully designed pin with no relevant text or keywords attached won’t surface in Pinterest search results regardless of how good it looks.
Forgetting to test different designs. Treating pin design as a one-and-done task rather than an ongoing process of testing and refining based on what actually performs misses one of Pinterest’s biggest advantages – old pins continuing to perform means you have time to learn what works and apply it going forward.

A simple, repeatable Pinterest pin workflow
For anyone publishing blog content regularly, having a consistent, repeatable process removes the friction of design becoming a barrier to actually getting pins published.
1. Set up a Canva Brand Kit with your fonts, colours, and logo (Canva Pro, or manually each time on the free plan).
2. Save 2 to 3 favourite Pinterest pin templates that match your brand style – reuse these as your starting structure for every new pin rather than searching templates from scratch each time.
3. For each new blog post, write 2 to 3 alternative headline options before opening Canva, so you’re not trying to come up with compelling copy and design simultaneously.
4. Create your pin using your saved template, swapping in the new image, headline, and any secondary text.
5. Create at least one variation with a different headline or image for testing.
6. Schedule your pins (via Pinterest’s native scheduler, Canva’s Content Planner, or a dedicated tool like Blog2Pin) rather than publishing everything at once.
7. After a few weeks, check which pins are performing best in Pinterest Analytics and apply what you learn to future pin designs.

Frequently asked questions
How do I create Pinterest pins for my blog?
Use a design tool like Canva with its dedicated Pinterest pin templates (already correctly sized at 1000 x 1500 pixels), swap in your own image and a clear, benefit-driven headline, add your branding, and download as a PNG or JPG. Create a few variations per post and schedule them over time rather than all at once. See the full step-by-step process above.
What size should a Pinterest pin be?
1000 x 1500 pixels (a 2:3 aspect ratio) is Pinterest’s recommended standard size. This ratio displays optimally in feeds and search results without cropping.
Can I use the same pin for multiple blog posts?
No – each pin should link to a specific URL and represent that specific piece of content. Creating multiple distinct pins for the same post (different headlines or images, same destination link) is a legitimate and effective strategy, but reusing one pin design for unrelated content confuses both Pinterest’s algorithm and potential visitors.
Do I need a paid tool to make good Pinterest pins?
No. Canva’s free plan, using its dedicated Pinterest pin templates, is sufficient for creating effective pins. Canva Pro adds convenience features (Brand Kit, Magic Resize) that speed up the process once you’re creating pins regularly, but they’re not required to make pins that perform well.
How many pins should I create per blog post?
3 to 5 variations per significant post is a reasonable target for bloggers actively using Pinterest as a traffic channel, spread out over time rather than published all at once.
Does Pinterest pin design actually affect traffic, or is it mostly about the content?
Both matter, but design has a measurable, significant effect on click-through rates independent of content quality. Two identical blog posts with different pin designs can see meaningfully different traffic purely based on how compelling and well-optimised the pin itself is.
Howtostartyourwebsite.com may get paid commission for purchases made after clicking a link on this page. This website is for inspiration purposes only. The content provided is meant to spark creativity and ideas, not to serve as professional advice or as endorsement.